
Queen Anne-style chair gets a new back (and watch those seams!)
Sarah Finks | Contributor
This is where the "rubber meets the road" so to speak. Putting the back on Victoria.
For those of you just joining us, we've been fixing up a Queen Anne-style chair. You can read Part 1, Part 2 and Part 3 of our previous adventures.
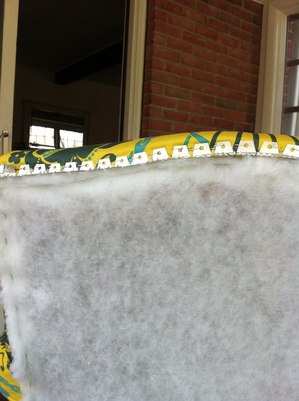
I added batting and Curve Ease, and then very carefully lined up the fabric.

Sarah Finks | Contributor
If this is your first upholstery attempt, may I recommend that you do not pick fabric with a geometric print. It is a challenge to get things to line up correctly. A solid or random-print pattern is much easier.
Nonetheless, my OCD kicked in and we have a lovely back for our chair. Picture me counting the tiny dots on the fabric to make sure the same amount were showing on each side — if you notice, there are nine little yellow dots showing on the left and right leaf.
Yes I know... OCD.
Sarah Finks | Contributor
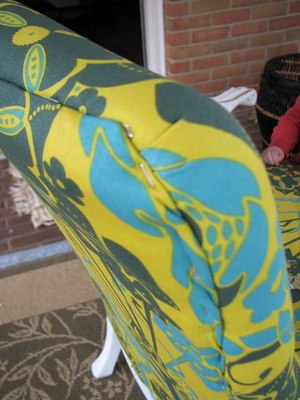
I always pay close attention to the folds of the fabric and the seams. To me, this is the difference between a great upholstery job and a not-so-great one.
There are a few ways to put a back onto a chair. I chose not to use a tack strip down the sides because of the fabric choice. Using staples allowed me get the fabric to line up perfectly. Next Tuesday I will be adding the double welt trim to hide all of the unsightly staples.
Sarah Finks is a local mom and blogger who lovingly restores furniture in her spare time. Feel free to email her at threeboys.home@gmail.com or check out her blog at threeboys-home.blogspot.com for more furniture makeovers.